Table of Contents
Before diving into the task of removing ceramic tile with a reciprocating saw, it’s essential to prepare both yourself and your workspace. Start by clearing the room of furniture and any other items that might obstruct your movement. Cover adjacent areas with drop cloths or plastic sheeting to protect them from dust and debris. Safety is paramount when working with power tools like reciprocating saws; ensure you wear protective gear such as goggles, gloves, and a dust mask. Lastly, make sure the area is well-lit so you can see what you’re doing clearly.

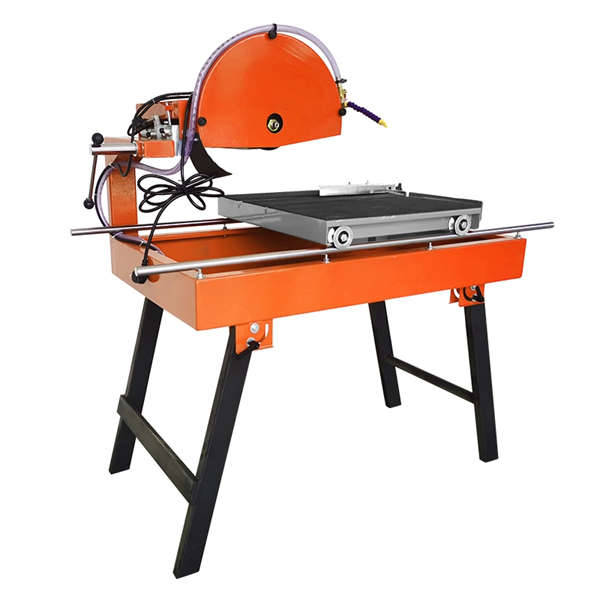
Selecting the appropriate blade is crucial when removing ceramic tile with a reciprocating saw. A diamond-grit blade is often recommended for cutting through hard materials like ceramic tiles. These blades are designed specifically for this type of work and will provide cleaner cuts while reducing the risk of chipping or breaking surrounding tiles. If a diamond blade isn’t available, consider using a carbide-tipped blade, which can also handle ceramic but may not be as efficient or precise.

Efficiency is key when tackling a project involving removing ceramic tile with a reciprocating saw. Begin by scoring the surface of the tile along the cut line using a glass cutter or scratch awl. This initial score line will guide your saw blade and help prevent the tile from cracking unpredictably. Use a slow and steady pace when making cuts, allowing the weight of the tool to do most of the work rather than applying excessive pressure.

When you encounter corners or areas where tiles are tightly fitted, removing ceramic tile with a reciprocating saw becomes more challenging. In these instances, it might be necessary to break the tile before attempting to remove it. Use a hammer and chisel to create small cracks around the perimeter of the tile, then proceed with the saw. This method helps loosen the tile from its adhesive, making removal easier and safer.
Once all the tiles have been removed, the cleanup process begins. Use a scraper or putty knife to remove any remaining adhesive or mortar from the subfloor. Vacuum up dust and debris thoroughly, paying special attention to corners and edges where particles tend to accumulate. For a final touch, mop the floor with water to pick up any lingering dust and leave the surface ready for new flooring installation.
By following these steps, you’ll be well-equipped to tackle the job of removing ceramic tile with a reciprocating saw efficiently and safely. Remember always to prioritize safety and take your time during each phase of the project.
报错: 未找到这个表单

Automatic Continuous Edging Machine Th...

Bridge Stone Saw Scope of applicat...

Concrete Cutting Machine Concrete ...

Diamond Rope Saw Description: The f...
