Table of Contents
Creating a mini diamond wire saw can be a rewarding project for hobbyists and professionals alike. This specialized tool, known for its precision and efficiency in cutting hard materials like stone and concrete, can be crafted with some basic tools and a bit of ingenuity. Here’s how to build your own mini diamond wire saw.
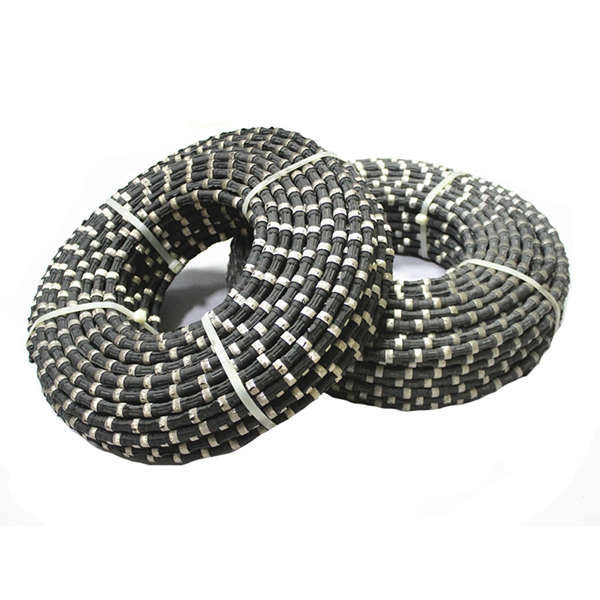
To begin crafting your mini diamond wire saw, gather the necessary components. These include a diamond-coated wire, which serves as the cutting element; two pulleys to guide the wire; a frame to hold everything together; and a tensioning mechanism to keep the wire taut. Additionally, you’ll need a motor to drive the system, ensuring smooth and continuous operation of the diamond wire saw.

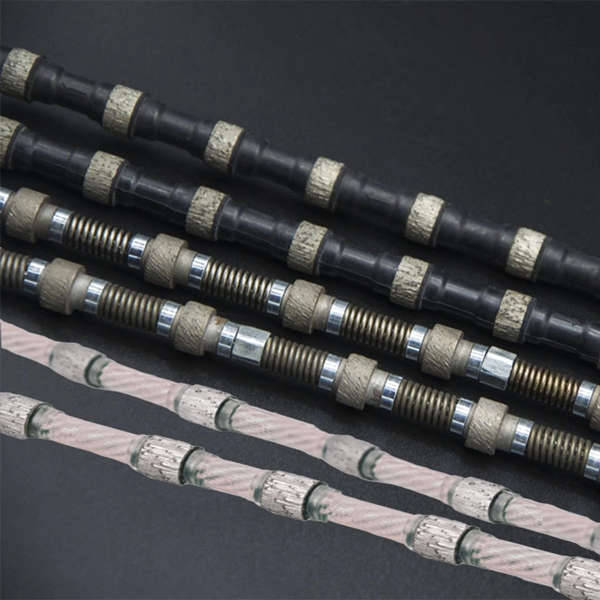
The heart of any diamond wire saw is the diamond-coated wire. When selecting this crucial component, consider the material’s hardness and the type of cuts you intend to make. For general-purpose use, a medium-grit diamond wire will suffice. However, for cutting extremely hard materials or making intricate cuts, a finer grit may be more appropriate. Ensure the wire diameter is compatible with your chosen pulleys and has enough strength to withstand the forces exerted during cutting operations.
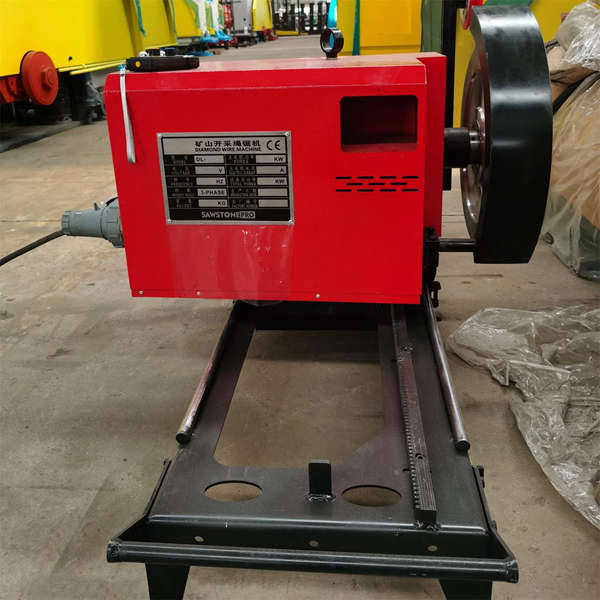
The frame provides structural support and stability to your mini diamond wire saw. Construct it using sturdy materials such as aluminum or steel tubing. Design the frame so that it can accommodate the pulleys and allow easy adjustment of the wire tension. Consider incorporating features like handles or a stand to enhance portability and ease of use. Once assembled, ensure all connections are secure and the frame is stable under load.
Pulleys play a critical role in guiding the diamond wire through the cutting path. Install them securely on the frame, ensuring they are aligned correctly to prevent the wire from derailing. Choose a motor that offers sufficient power to drive the wire at optimal speeds without overheating. Connect the motor to one of the pulleys using a belt or direct coupling, depending on your design. Test the setup to confirm that the motor turns the pulley smoothly and the diamond wire moves freely without excessive friction.
Proper tension is essential for effective cutting with a diamond wire saw. Use a tensioning mechanism, such as a turnbuckle or spring-loaded system, to adjust the tightness of the wire. Too much tension can cause premature wear on the wire and pulleys, while too little can lead to poor cutting performance and safety hazards. Follow the manufacturer’s guidelines for setting the correct tension and periodically check it during use to maintain consistent cutting quality.
Before using your newly constructed mini diamond wire saw on actual projects, conduct thorough testing. Start with softer materials and gradually work up to harder substances as you become familiar with the saw’s capabilities. Pay attention to the cutting speed, wire wear, and overall performance. Make adjustments as needed to the tension, motor speed, or other settings to achieve the best results. Regular maintenance, including cleaning and lubrication, will also help extend the life of your DIY diamond wire saw.
With these steps, you can successfully create a functional mini diamond wire saw tailored to your specific needs. Whether for professional applications or personal projects, this tool will provide precise and efficient cutting capabilities.
报错: 未找到这个表单

Automatic Continuous Edging Machine Th...

Bridge Stone Saw Scope of applicat...

Concrete Cutting Machine Concrete ...

Diamond Rope Saw Description: The f...
