Table of Contents
Preparing Your Workspace for Cutting Ceramic Tile With a Wet Saw
When it comes to home renovation projects, cutting ceramic tile can be both challenging and rewarding. Whether you’re laying down a new bathroom floor or adding a backsplash to your kitchen, precision is key. Before you begin, ensure your workspace is set up properly. Clear the area of any debris and lay down a drop cloth to protect surfaces from water and tile fragments. Position your wet saw on a sturdy workbench or table, ensuring it’s level and stable. Remember, safety first—wear protective gear such as goggles, gloves, and a dust mask.
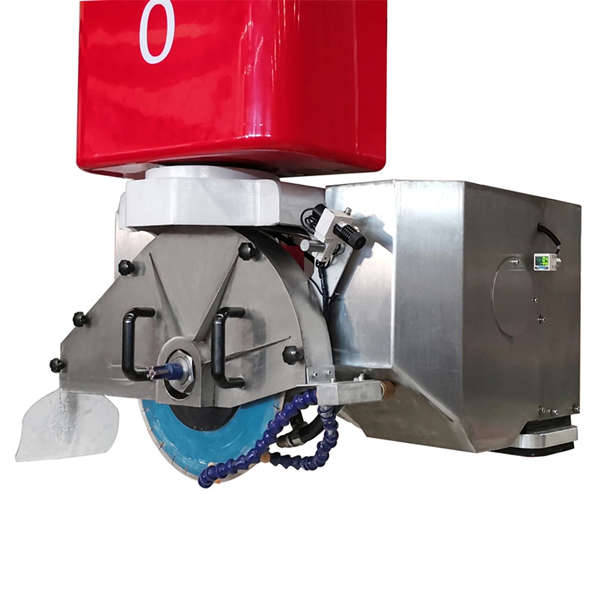
One crucial aspect of using a wet saw effectively is choosing the correct blade. For ceramic tiles, a diamond blade is typically recommended due to its durability and ability to cut through hard materials smoothly. There are two main types: continuous rim and turbo segments. Continuous rim blades provide cleaner cuts but generate more heat, while turbo-segmented blades are better suited for faster cuts and are more efficient at dissipating heat. Consider the thickness and hardness of your tiles when making your selection.
Proper measurement and marking are essential for achieving accurate cuts. Use a tape measure to determine where you need to cut, then mark the tile with a pencil or felt-tip marker. For straight cuts, use a straight edge or square as a guide. If you’re making multiple cuts, consider creating a template to ensure consistency across all pieces. This step may seem simple, but it’s vital for success—measure twice, cut once!

Setting Up the Wet Saw for Cutting Ceramic Tile With a Wet Saw
Before turning on your wet saw, make sure it’s properly set up. Fill the water reservoir to the manufacturer’s recommended level; this helps cool the blade and reduce dust. Adjust the fence (the guide against which the tile rests) so that it aligns with your cut line. Test the alignment by running the saw blade slowly along the line without actually cutting the tile. Once everything looks good, secure the tile firmly on the saw bed using clamps or the built-in vacuum cups if available.

Making the Cut When Cutting Ceramic Tile With a Wet Saw
With your setup complete and safety gear on, it’s time to start cutting. Turn on the water supply to lubricate the blade and prevent overheating. Slowly guide the tile through the saw along your marked line. Keep a steady pace and apply even pressure to maintain control and achieve a clean cut. Avoid forcing the tile, as this can lead to chipping or breaking. For intricate cuts or curves, consider slowing down further or using a different tool like angle grinders equipped with diamond blades.
After finishing your cuts, turn off the wet saw and allow the blade to come to a complete stop. Drain and clean the water reservoir to prevent rust buildup and remove any remaining tile particles. Wipe down the saw and surrounding area with a damp cloth to catch any lingering dust or debris. Store your wet saw in a dry place until the next use. Proper maintenance will extend the life of your equipment and keep it functioning optimally for future projects.
By following these steps, you’ll be well-equipped to tackle your tiling project with confidence. Remember, practice makes perfect—so don’t be discouraged if your first few attempts aren’t flawless. With patience and persistence, you’ll soon master the art of cutting ceramic tiles with a wet saw.
报错: 未找到这个表单

Automatic Continuous Edging Machine Th...

Bridge Stone Saw Scope of applicat...

Concrete Cutting Machine Concrete ...

Diamond Rope Saw Description: The f...
