Table of Contents
How to Assemble Dry Ceramic Saw: A Comprehensive Guide
When it comes to cutting ceramic tiles or other hard materials, a dry ceramic saw is an indispensable tool. Proper assembly ensures optimal performance and safety. Below, we will guide you through the process step-by-step, ensuring your dry ceramic saw is ready for use.

Before you begin assembling your dry ceramic saw, it’s crucial to unpack all components carefully. Lay out the parts on a clean, flat surface. This includes the base plate, motor unit, blade guard, water pump (if applicable), and the diamond blade. Ensure that all pieces are present according to the manufacturer’s list included in the package. This initial step is vital for identifying any missing parts or damages that might affect the functionality of your dry ceramic saw.
The motor unit is the heart of your dry ceramic saw. Begin by aligning the motor unit with the pre-drilled holes on the base plate. Use bolts and nuts provided in your kit to secure the motor firmly. Tighten these fasteners using a wrench or socket set, ensuring they are snug but not over-tightened, which could damage the threads. Once mounted, double-check the stability of the motor to prevent wobbling during operation, which can compromise the precision of your cuts and the longevity of your dry ceramic saw.
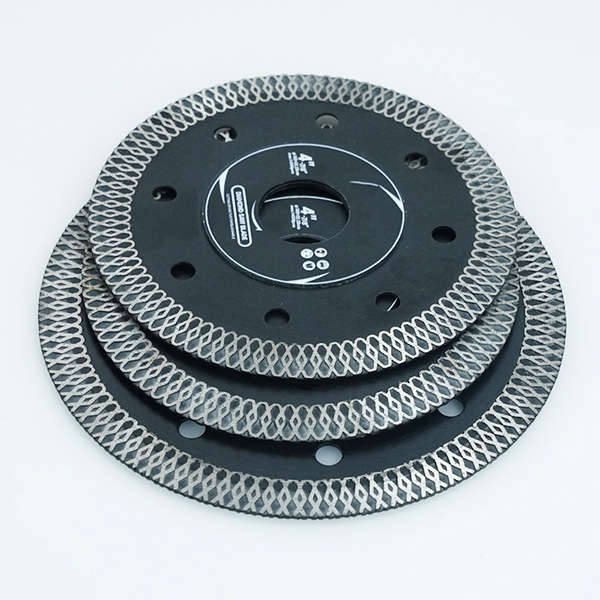
Safety is paramount when working with power tools like a dry ceramic saw. Installing the blade guard first is essential as it protects you from flying debris. Align the guard with its designated slot and secure it with the provided screws. Next, focus on mounting the diamond blade. Make sure the blade fits securely onto the arbor and is tightened using the appropriate tool—typically a spanner wrench. Always refer to the manufacturer’s instructions for specific tightening torque to avoid over-tightening, which can cause damage to your dry ceramic saw.

While some models operate without water, connecting the water pump system can significantly extend the life of your diamond blade and reduce dust production. Locate the water inlet on your dry ceramic saw and attach the hose securely. Turn on the water supply and check for leaks before making cuts. If your model does not require water, ensure that all water-related components are properly stored to avoid damage to your dry ceramic saw.
To achieve accurate cuts, adjusting the cutting depth and guide rails is necessary. Loosen the locking mechanism on the motor arm and move it up or down until the desired depth is achieved. Tighten the lock to secure the position. For straight and consistent cuts, align the guide rails parallel to the cutting line. These adjustments enhance the efficiency and accuracy of your dry ceramic saw, making it easier to work with various materials.
Before using your newly assembled dry ceramic saw, perform a test run. Place a scrap piece of material on the saw bed and make a few cuts to ensure everything is functioning correctly. Listen for unusual noises and observe the blade for proper alignment and rotation. This final step confirms that your dry ceramic saw is assembled correctly and ready for use.
By following these steps, you’ll be able to assemble your dry ceramic saw effectively, ensuring both safety and precision in your projects. Regular maintenance and adherence to manufacturer guidelines will keep your tool performing at its best for years to come.
报错: 未找到这个表单

Automatic Continuous Edging Machine Th...

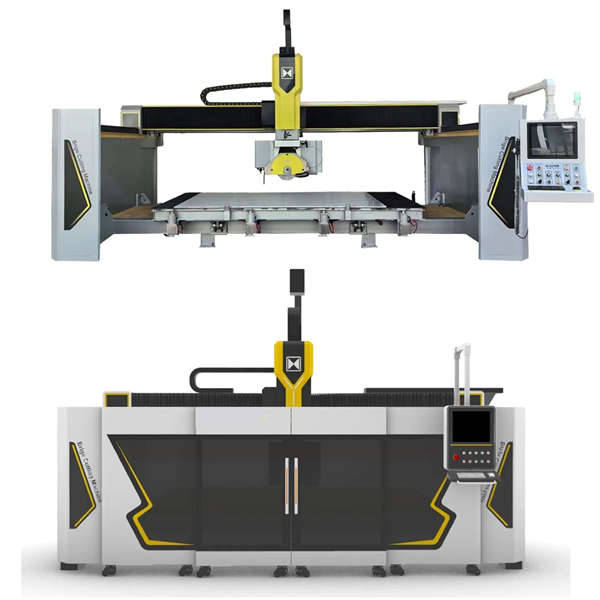
Bridge Stone Saw Scope of applicat...

Concrete Cutting Machine Concrete ...

Diamond Rope Saw Description: The f...
