Table of Contents
When it comes to cutting through tough materials like concrete, stone, or metal, a diamond wire band saw is an indispensable tool. Building your own DIY diamond wire band saw not only saves you money but also allows for customization tailored to your specific needs. In this guide, we’ll explore the essentials of constructing a reliable and efficient diy diamond wire band saw.
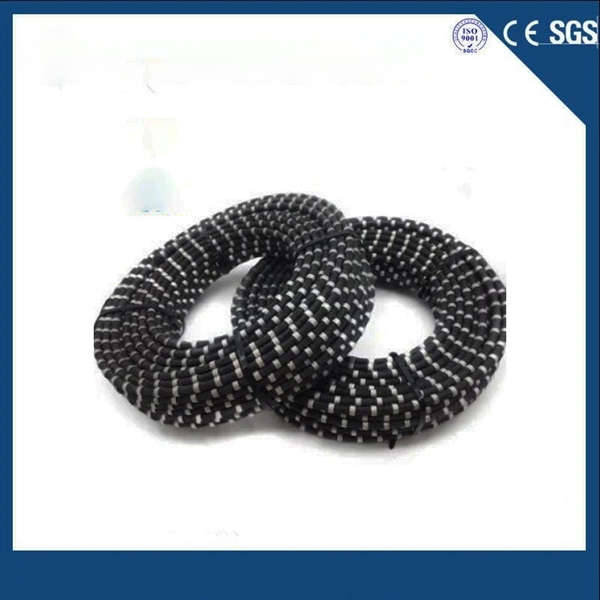
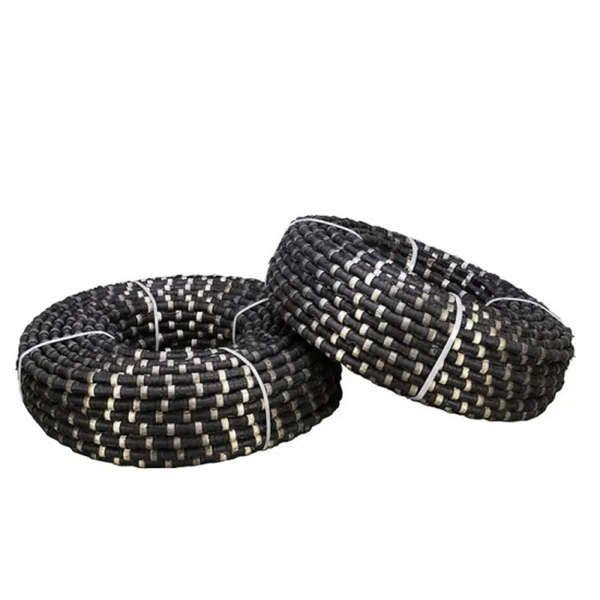
The first step in building a diy diamond wire band saw is selecting the right components. These include the motor, frame, pulleys, and most importantly, the diamond wire itself. When choosing a motor, aim for one with sufficient power to maintain speed under load. For the frame, sturdy materials such as steel tubing will ensure stability during operation. Pulleys must be precisely aligned to prevent wear on the wire. Lastly, the diamond wire should match the material hardness you plan to cut for optimal performance.
A robust frame is crucial for any diy diamond wire band saw. Start by welding or bolting together the base and upright supports using the steel tubing. Ensure all joints are strong and secure. Next, attach the upper and lower pulley assemblies to the uprights, making sure they are parallel and level. This alignment is critical for proper tensioning of the diamond wire and even wear.
Proper installation of the motor is key to the functionality of your diy diamond wire band saw. Position the motor so its output shaft aligns with one of the pulleys. Use a coupling or belt drive system to connect the motor to the pulley, ensuring there’s minimal slack in the transmission. This setup allows for smooth, consistent power transfer, which is essential for cutting efficiency.
Correctly tensioning the diamond wire is perhaps the most critical aspect of setting up your diy diamond wire band saw. Too much tension can lead to premature breakage, while too little results in poor cutting performance. Most designs incorporate a tensioning mechanism, usually a spring-loaded arm or hydraulic cylinder, attached to one of the pulleys. Adjust until the wire is taut but not overstretched.
Before putting your new diy diamond wire band saw to work, perform a series of tests to ensure everything operates smoothly. Run the machine without a load to check for vibrations, noise, or overheating. Gradually introduce lighter cutting tasks, monitoring the wire’s path and the motor’s response. Any issues should be addressed promptly to prevent damage to the components.
Regular maintenance keeps your diy diamond wire band saw running efficiently and extends its lifespan. Clean debris from the frame and moving parts regularly. Lubricate bearings and other friction points as recommended by the component manufacturers. Inspect the diamond wire frequently for signs of wear or damage, replacing it when necessary to maintain cutting effectiveness.
Building a diy diamond wire band saw offers both savings and satisfaction. With careful planning, quality components, and attention to detail during assembly, you can create a powerful tool capable of handling demanding cutting jobs. Whether for professional use or ambitious DIY projects, a homemade diamond wire band saw stands ready to deliver precision cuts time after time.
报错: 未找到这个表单

Automatic Continuous Edging Machine Th...

Bridge Stone Saw Scope of applicat...

Concrete Cutting Machine Concrete ...

Diamond Rope Saw Description: The f...
